One of the hardest parts about starting this account was taking pictures we were proud of. We both have iPhones that take great quality pictures, but the issue was finding someone to take the pictures exactly how we imagined them.
Unfortunately, we live in different states so being each other's photographers is not an option right now.
Typically, Amanda's fiancé Justin takes her pictures (slowly creating a #Instagramhusband) and our mom takes Sera's pictures, but they both have their own lives and can't be with us all the time. Not to mention neither of them are photographers (or even remotely interested in Instagram)!
Getting them to set up the perfect framing and lighting was definitely a bit frustrating at first and while they're definitely learning quickly, we realized that we both had to figure out how to take pictures on our own.
 |
| Sera took this photo using a tripod and Bluetooth remote (hidden behind her back). |
First things first - find some inspiration
When you're getting ready to shoot content for your blog or Instagram, it's really helpful to know exactly what you want to accomplish. Often times when we go out thinking we'll just wing it and strike a fun pose in front of something cute, it doesn't always work out.
You drive around looking for the perfect background, but you don't know what you're looking for. Then when you start posing, you end up feeling awkward and unmotivated.
Look on the pages of your favorite influencers and see what they're doing. Pay attention to their backgrounds (especially the colors), how they're posing, and what they're doing with their hands.
You need to make sure the colors and brightness of the photo will match your current Instagram feed. When we first started out, it definitely took us awhile to figure this out. If your feed is filled with bright, sunny pictures where you can see the sky, a picture at night probably won't fit, and the lighting in your closet just isn't going to match.
At the same time, if you are sitting in the green grass, it might not look great next to a picture of you in front of a red, brick building (unless your vibe is Christmas).

We have a bright feed, but our outfits are mainly neutral colors like beige and white. A while ago we tried to post some pictures in front of our dad's candy apple red 57 Chevy. The feel matched our feed, but the color was off. We ended up archiving those photos (yay for being able to post them here though!)


So the lesson is pick your location wisely. When you're on your own, simple backgrounds are usually easier. Often times strip malls have cute buildings and walls you can use. We also tend to pick walls that are a bit hidden so we're not as embarrassed (more on that later).
Here's what you need to do it yourself
When we're by ourselves, we set up tripods and use a Bluetooth remote to snap the pictures. It's easy to find super expensive tripods and huge lights, but here are the ones we use.

Sera bought the Sensyne Circle Light (only $37) and it works really well, but we are not big fans of the remote that comes with it (lots of awkward moments posing without any pictures being taken). The CAMKIX ($9) remote Amanda uses is much better. It responds really well to the button so you can push it over and over to get a lot of pictures in just a few seconds. We really needed this because we tend to blink a lot (and laugh at ourselves).
Because the remote takes the photos really fast, it often captures fun movement that Justin and our mom wouldn't be quick enough to catch. So spin in that skirt & flip that hair, girl!
To hide that we're using a remote we usually put one hand in our back or jacket pocket. Here's a photo that you probably wouldn't notice was taken with the remote.
It is scary! Some people will honk at you and yell things. But you can't let a little embarrassment stop you from doing what you want to do.
We still struggle with this, but we just tell ourselves that it’ll be worth it when the pictures look perfect with our feed. It’s all about what makes you happy, anyway!
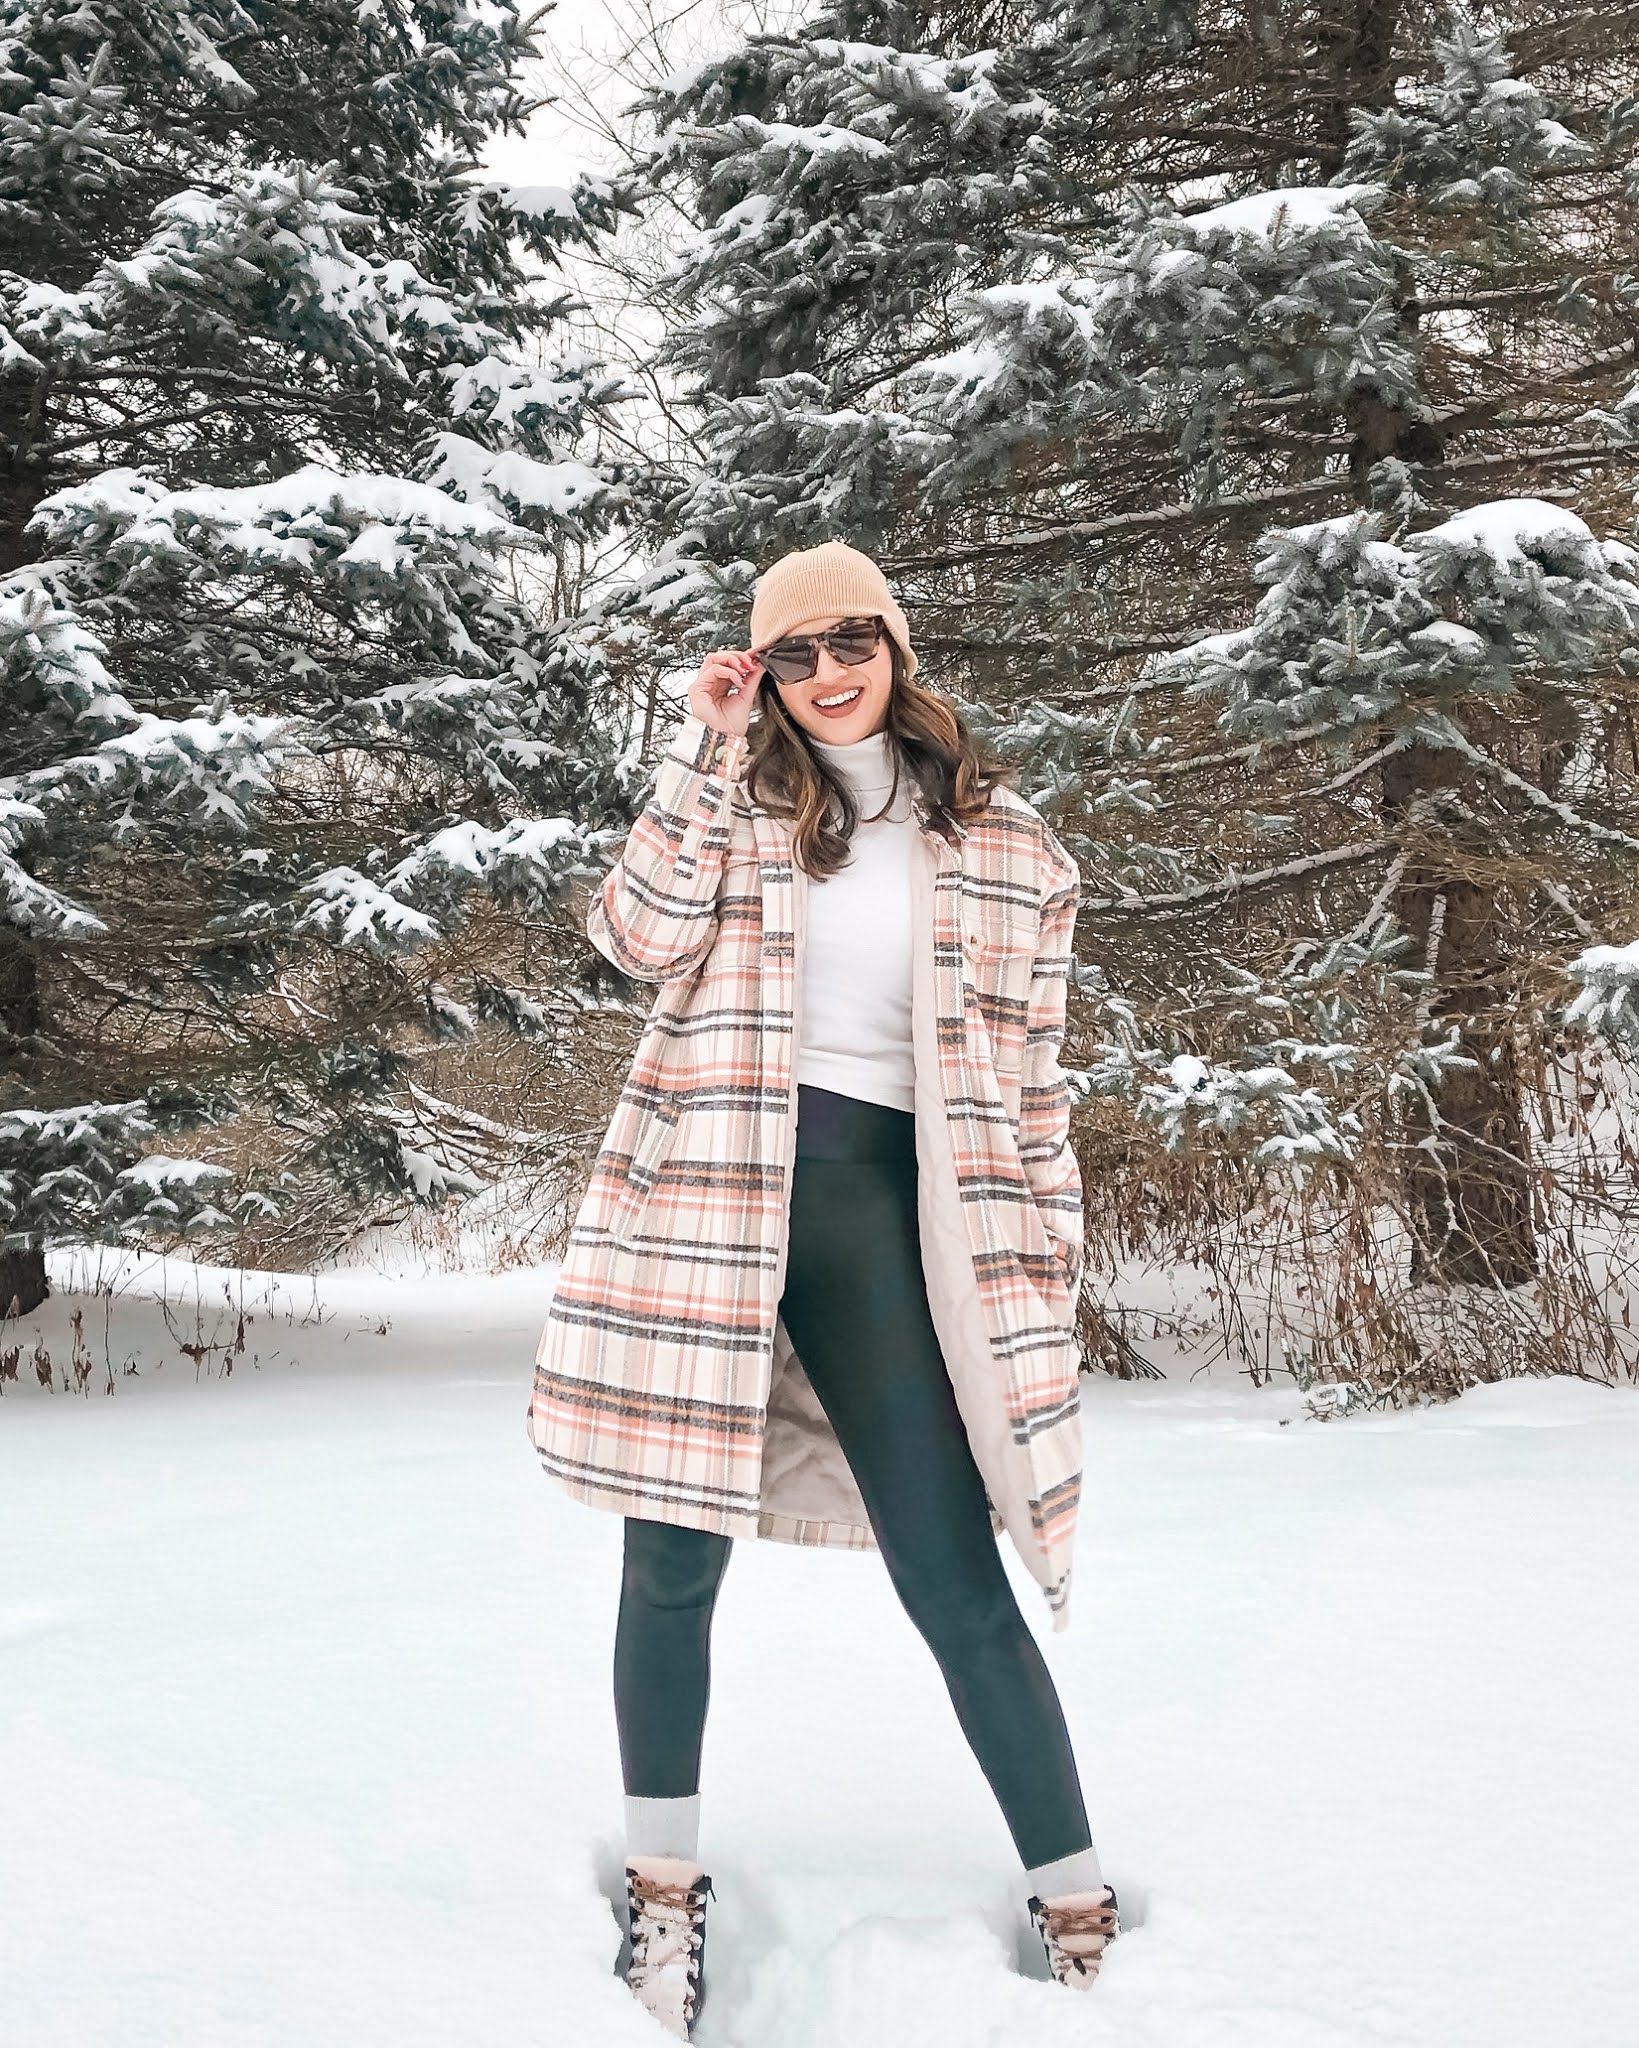 |
| I'm hiding the remote in my pocket and have the tripod set up in the show about 6 feet in front of you. I'm right next to a pretty busy street. I was pretty embarrassed so I took these pictures quickly. |
How to get over the fear of shooting photos by yourself in public
We get it, we were terrified to go out with a large tripod and take pictures of ourselves too. From an outsider’s perspective, it seems really superficial and we were scared that people would think we were full of ourselves.It is scary! Some people will honk at you and yell things. But you can't let a little embarrassment stop you from doing what you want to do.
We still struggle with this, but we just tell ourselves that it’ll be worth it when the pictures look perfect with our feed. It’s all about what makes you happy, anyway!
 |
| In this photo I was hiding the remote right behind my leg. I'm sure you wouldn't have noticed that without me telling you. |
I needed this! I'm even too embarrassed to ask my fiance to take my photos!
ReplyDeleteHaha and it's hard to get someone to get the right angles you want! Hope you can get some great pictures with these tips.
DeleteIt really is terryifying shooting by yourself in public. Not caring what people think is a major goal!
ReplyDeleteIt's definitely difficult to ignore people driving by or honking, but we try our best! Just keep working on it girl.
DeleteLove these tips! I’m so shy when it comes to taking photos in public or around people but those are almost always the best setting for pictures!
ReplyDelete